bistpower fan installation instructions
bistpower fan installation instructions
Bitspower Fan Installation: A Comprehensive Guide (Updated 02/04/2026)
Bitspower fan installation is streamlined, boosting cooling and efficiency; this guide details preparation, mounting, connection, RGB setup, and maintenance for peak performance․
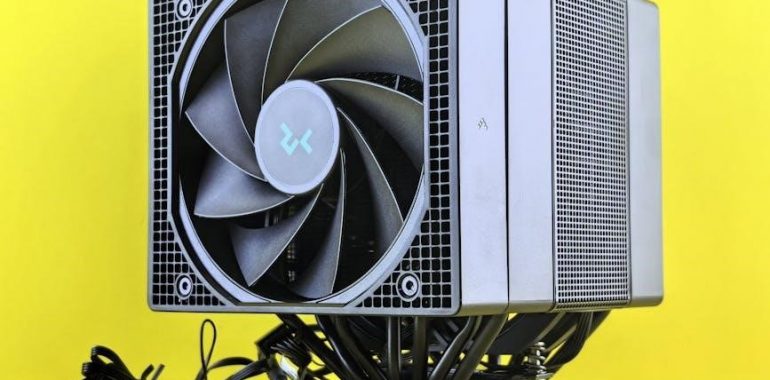
Bitspower fans represent a premium choice for PC cooling enthusiasts, renowned for their high performance, durability, and aesthetic appeal; Designed for both air and liquid cooling systems, these fans deliver exceptional airflow and static pressure, crucial for maintaining optimal temperatures within your computer․
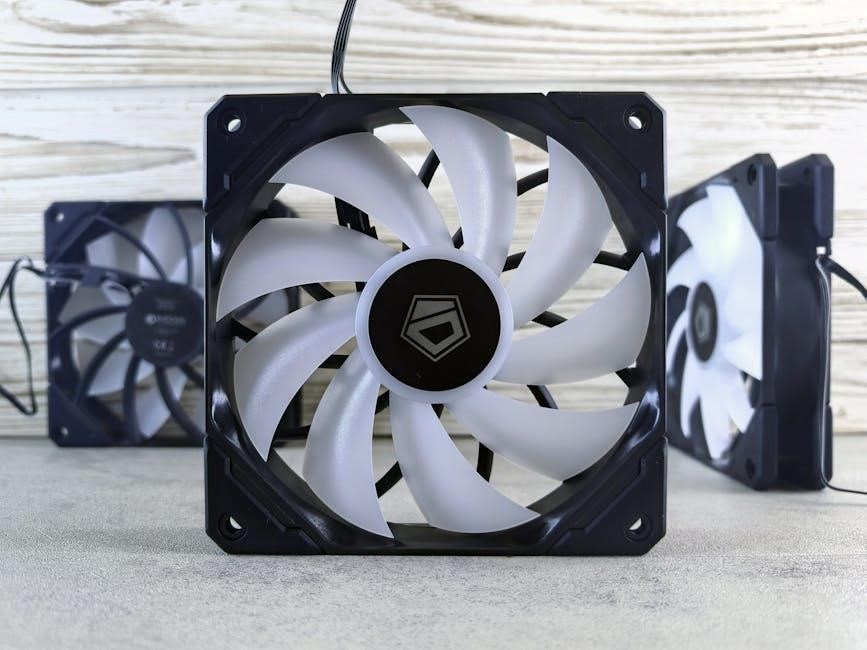
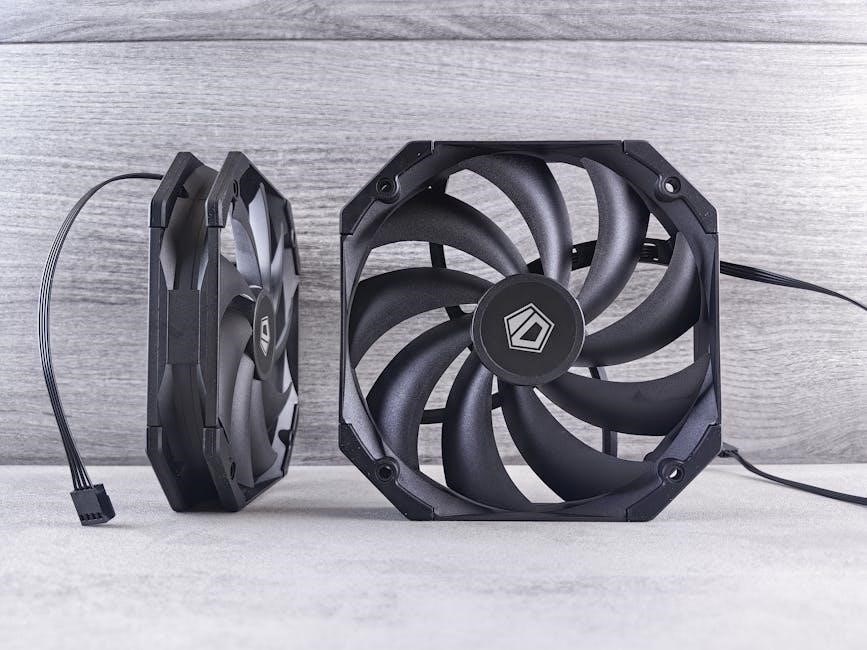
Bitspower offers a diverse range of fan models, catering to various case sizes and cooling needs․ From standard 120mm and 140mm fans to specialized options, you’ll find a Bitspower fan to suit your build․ A key feature is their compatibility with RGB lighting systems, allowing for extensive customization and synchronization with other components․
This comprehensive guide will navigate you through the installation process, ensuring a smooth and effective upgrade to your cooling solution․ Proper installation maximizes performance and extends the lifespan of your components․
Understanding Fan Components
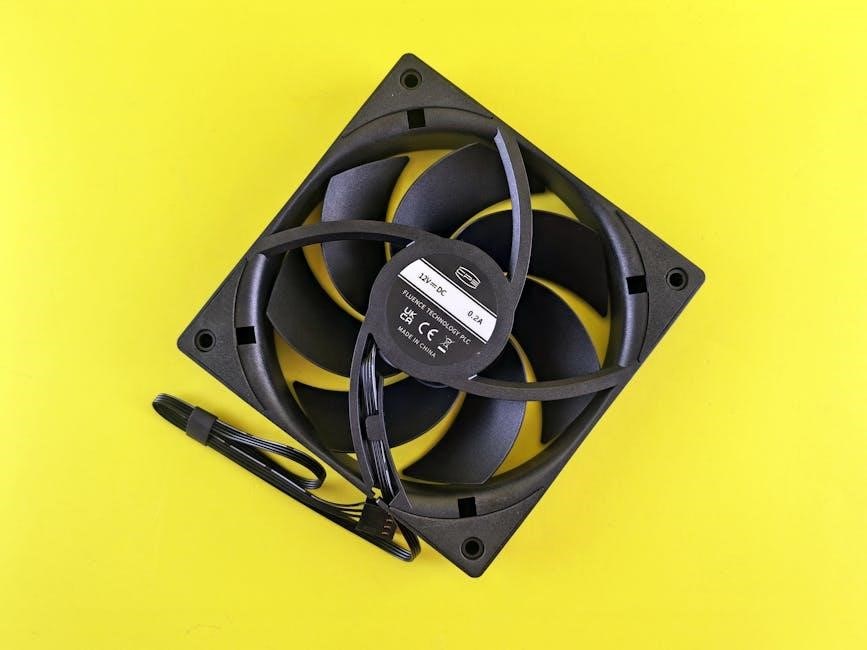
Bitspower fans, like most PC cooling fans, comprise several key components working in unison․ The fan blades, designed for optimal airflow, are driven by a central motor․ This motor’s speed, often measured in RPM (revolutions per minute), dictates airflow volume․ A fan frame provides structural support and mounting points․
Crucially, Bitspower fans often include integrated RGB LEDs for customizable lighting effects․ These connect via dedicated RGB cables․ The fan hub, or connection point, receives power and control signals from the motherboard or a fan controller․
Understanding these components is vital for successful installation and troubleshooting․ Recognizing the function of each part allows for informed decisions regarding placement, wiring, and maintenance, ultimately maximizing cooling efficiency and aesthetic appeal․
Safety Precautions Before Installation
Prioritize safety before commencing Bitspower fan installation․ Always disconnect the power supply from the wall outlet and discharge any static electricity by grounding yourself – use an anti-static wrist strap․ Avoid working in humid environments․
Handle fans with care; blades are delicate and can be damaged․ Be mindful of sharp edges on the case and radiator․ When working inside the PC, avoid forcing components․ Ensure adequate lighting to clearly see all connections and mounting points․
Never operate the system with exposed wiring․ Double-check all connections before restoring power․ Following these precautions minimizes the risk of electrical shock, component damage, and personal injury, ensuring a safe and successful installation․

Preparing for Installation
Proper preparation is key! Gather necessary tools, verify fan compatibility with your case and radiator, and ensure your system is ready for installation․
Tools Required for Installation
Successfully installing Bitspower fans requires a few essential tools to ensure a smooth and secure process․ A Phillips head screwdriver is paramount for securing the fans to mounts and radiators․ Consider having multiple sizes available for different screw types․
Anti-static wrist straps are crucial to protect sensitive components from electrostatic discharge during handling․ Cable ties or Velcro straps will help manage fan cables for a clean build and improved airflow․ A fan hub, while optional, is highly recommended if you plan to connect multiple fans to a single motherboard header․
Finally, a flashlight can be useful for illuminating hard-to-reach areas during installation․ Having these tools readily available will significantly simplify the Bitspower fan installation process and contribute to a professional-looking build․
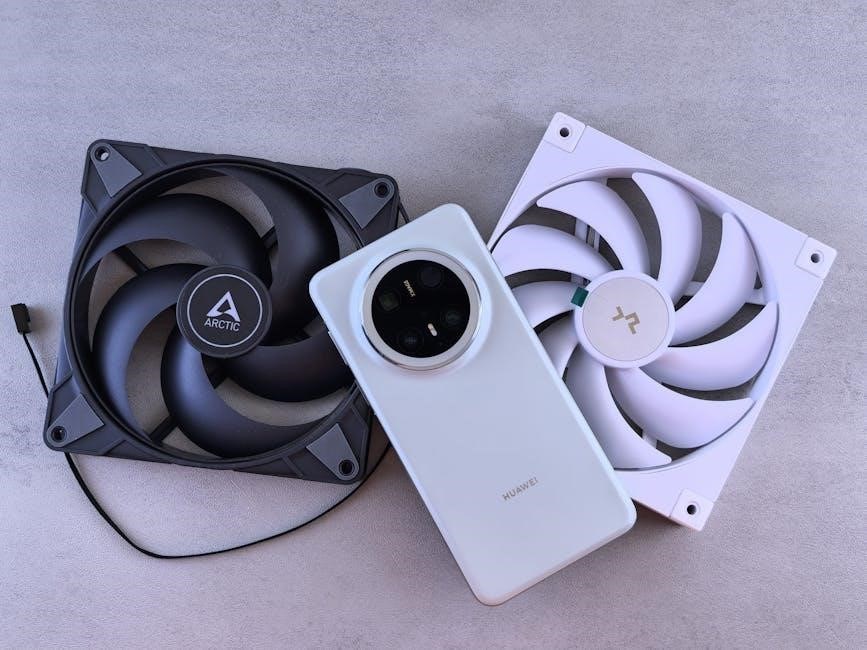
Checking Fan Compatibility
Prior to installation, verifying Bitspower fan compatibility with your existing hardware is crucial․ Ensure your case has adequate space to accommodate the fan’s dimensions – typically 120mm or 140mm․ Confirm your radiator supports the chosen fan size and mounting pattern․
Check your motherboard’s fan headers; sufficient headers are needed for all fans, or a fan hub will be necessary․ Verify the fan’s voltage requirements align with your power supply and motherboard capabilities․
Consider the airflow direction needed for optimal cooling performance within your case․ Incompatible components can lead to installation difficulties or reduced cooling efficiency, so careful pre-planning is essential for a successful Bitspower fan setup․
System Preparation: Case and Radiator
Before mounting Bitspower fans, thoroughly prepare your case and radiator․ Ensure the case is powered off and disconnected from the mains․ Remove any existing fans or cooling solutions from the radiator․ Inspect the radiator for any obstructions or damage that might hinder fan installation․
Clean the radiator fins to maximize airflow efficiency․ Verify the radiator is securely mounted within the case, providing a stable base for the new fans․ Double-check that the case has sufficient clearance for the fans, considering both width and depth․
Proper preparation minimizes installation issues and ensures optimal cooling performance with your Bitspower fans․
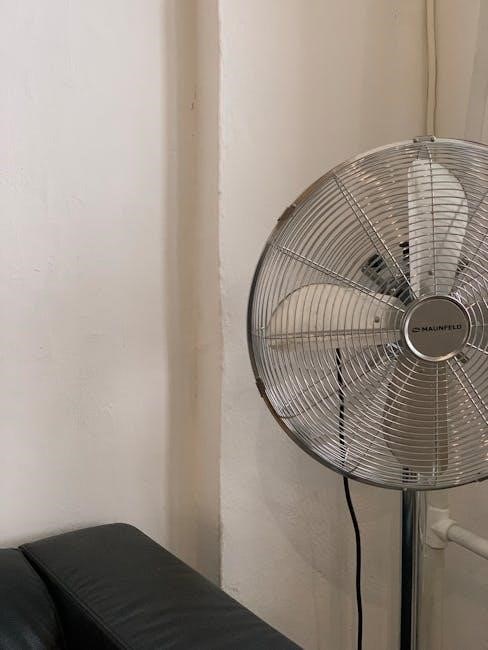
Mounting the Bitspower Fan
Bitspower fans offer flexible mounting; select options based on airflow, noise, and aesthetics, following manufacturer guidelines for optimal system configuration․
Fan Mounting Options & Considerations
Bitspower fans boast versatile mounting solutions, adapting to diverse PC builds․ Consider radiator thickness, case dimensions, and desired airflow direction when choosing an option․ Standard screw mounts provide secure attachment to radiators and cases, ensuring stability․ Flex Bay mounts offer increased flexibility, accommodating various configurations and minimizing vibration․
Prioritize airflow optimization; fans should either push or pull air, avoiding conflicting directions․ Proper orientation maximizes cooling efficiency․ Evaluate noise levels – higher RPMs generate more noise․ Aesthetic preferences also play a role; consider fan placement for visual appeal․ Always refer to Bitspower’s guidelines for specific recommendations based on your fan model and system setup․ Careful planning during mounting significantly impacts overall cooling performance and system longevity․
Using Fan Mounts and Screws
Bitspower fan installation utilizing mounts and screws requires precision․ Ensure compatibility between screw size and mounting holes on both the fan and radiator/case․ Begin by aligning the fan with the mounting points, gently pressing it into position․ Use the provided screws – avoid over-tightening, as this can damage the fan frame or mounting threads․
Rubber washers, often included, dampen vibrations and reduce noise․ Tighten screws in a criss-cross pattern to distribute pressure evenly․ Flex Bay mounts require careful adjustment to achieve the desired angle and secure fit․ Regularly inspect screws for looseness, especially after initial operation; Proper screw usage guarantees a stable, secure, and vibration-free fan installation, maximizing cooling efficiency and longevity․
Proper Fan Orientation for Airflow
Bitspower fan orientation is crucial for optimal airflow and cooling performance․ Generally, fans should be positioned to push air through the radiator or case in the correct direction․ Identify the fan’s airflow direction using the arrows printed on the fan frame․ For radiators, configure fans to either push or pull air, depending on case airflow design․
Push configurations exhaust hot air from the radiator, while pull configurations draw cool air through it․ Consider the overall system airflow; intake fans bring cool air in, while exhaust fans expel hot air․ Avoid creating airflow obstructions․ Proper orientation minimizes turbulence and maximizes heat dissipation, ensuring efficient cooling and stable system operation․

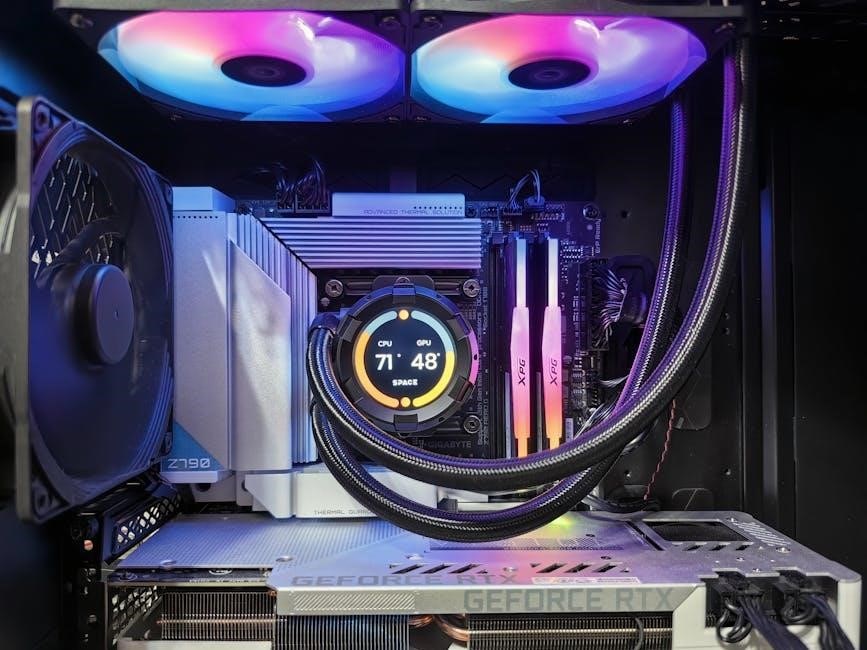
Connecting the Fan
Bitspower fans connect to motherboard headers or hubs; understanding PWM versus voltage control is key for managing fan speed and optimizing cooling performance․
Connecting to Motherboard Fan Headers
Bitspower fans are typically connected directly to your motherboard’s fan headers for simplified control and monitoring․ Locate the appropriate 4-pin PWM or 3-pin voltage control fan headers on your motherboard – consult your motherboard manual for precise locations․ Ensure the fan’s connector aligns correctly with the header pins before applying gentle, firm pressure․
PWM (Pulse Width Modulation) headers offer superior control, allowing the motherboard to dynamically adjust fan speed based on temperature sensors․ Voltage control headers simply vary fan speed based on the applied voltage․ Connecting multiple fans to a single header is generally not recommended, as it can overload the header and lead to instability․ Always prioritize using a fan hub for distributing power when connecting several fans to the motherboard․
Using Fan Hubs for Multiple Fans
Bitspower recommends utilizing fan hubs when connecting more than a few fans to your system․ Fan hubs distribute power from a single motherboard fan header to multiple fans, preventing overload and ensuring stable operation․ These hubs often feature PWM control, allowing for synchronized speed adjustments across all connected fans․
Connect the fan hub to a dedicated motherboard fan header, then connect each Bitspower fan to the hub’s individual ports․ Ensure proper polarity alignment; Some hubs require a separate SATA power connection for additional power delivery․ This setup simplifies cable management and provides centralized control over your cooling system․ Always verify the hub’s maximum wattage capacity to accommodate all connected fans safely․
PWM vs․ Voltage Control – Understanding the Difference
Bitspower fans often support both PWM (Pulse Width Modulation) and Voltage control methods for speed regulation․ PWM control offers more precise speed adjustments by rapidly switching the fan’s power on and off, while Voltage control adjusts speed by varying the voltage supplied to the fan․
PWM is generally preferred for its wider speed range and quieter operation at lower speeds․ Voltage control is simpler but less efficient, potentially creating more noise․ Ensure your motherboard fan header supports the control method you intend to use․ Connecting a PWM fan to a Voltage-controlled header (or vice-versa) may result in suboptimal performance or even damage․
RGB Lighting Setup
Bitspower fans enhance aesthetics with customizable RGB lighting; connect cables and utilize software for synchronization with other components for a vibrant build․
Connecting RGB Cables
Bitspower RGB fans typically utilize a standard 3-pin RGB connector, though some models may employ proprietary connections․ Carefully identify the correct RGB header on your motherboard, often labeled as “RGB_12V” or similar․ Ensure proper alignment before gently pressing the connector onto the header․
If your motherboard lacks sufficient RGB headers, or if you desire to control multiple fans collectively, a dedicated RGB hub is recommended․ Connect the fan’s RGB cable to the hub, and then connect the hub to the motherboard’s RGB header․
Pay close attention to the polarity of the connectors to avoid damage․ Incorrectly connected RGB cables may prevent the lighting from functioning correctly․ Always consult your motherboard and fan manuals for specific instructions and compatibility information․
Software Control of RGB Lighting
Once the RGB cables are connected, utilize your motherboard manufacturer’s software – such as ASUS Aura Sync, MSI Mystic Light, or Gigabyte RGB Fusion – to control the lighting effects․ These programs allow customization of colors, brightness, and dynamic modes like breathing or rainbow effects․
Alternatively, Bitspower may offer dedicated software for advanced control, providing more granular customization options and potentially synchronization features․ Check the Bitspower website for available software downloads and compatibility information․
Ensure the software recognizes the connected fans; a system restart may be necessary․ Experiment with different profiles to achieve your desired aesthetic, and regularly update the software for optimal performance and new features․
Synchronizing RGB with Other Components
Achieving a unified aesthetic requires synchronizing the Bitspower fan RGB lighting with other compatible components within your system․ Most motherboard RGB control software supports integration with a wide range of peripherals, including RAM, SSDs, and LED strips․
Within your chosen software (Aura Sync, Mystic Light, RGB Fusion), locate the synchronization settings and enable control over connected devices․ This allows you to apply the same color schemes and effects across all RGB elements, creating a cohesive look․
Ensure all components are properly connected and recognized by the software․ Troubleshooting may involve updating drivers or checking cable connections․ A synchronized RGB setup elevates the visual appeal of your build․
Coolant Considerations for Optimal Performance
Bitspower Pellucid coolant is recommended for peak performance, preventing scale and algae; avoid distilled water and non-recommended liquids for longevity․
Recommended Coolants (Bitspower Pellucid)
Bitspower Pellucid is the premier choice for maximizing the performance and lifespan of your liquid cooling system․ Specifically formulated to work in harmony with Bitspower components, Pellucid offers exceptional corrosion inhibition, preventing damage to your blocks, radiators, and, of course, your fans․
Its advanced formula ensures optimal thermal conductivity, efficiently transferring heat away from critical components․ Pellucid’s clarity allows for vibrant dye colors to shine through, enhancing the aesthetic appeal of your build․
Using Pellucid minimizes the risk of galvanic corrosion, a common issue with mixed metals in liquid cooling loops․ Bitspower rigorously tests Pellucid to guarantee compatibility and stability, providing peace of mind for enthusiasts․ Choosing Pellucid isn’t just about cooling; it’s about protecting your investment and achieving the best possible results․
Coolants to Avoid (Distilled Water, Non-Recommended Liquids)
While seemingly harmless, pure distilled water is not recommended for Bitspower liquid cooling systems․ It lacks essential corrosion inhibitors, leading to scale and algae buildup over time, which can severely damage components and reduce cooling efficiency․ This buildup restricts flow, impacting fan performance and potentially causing system instability․
Avoid using automotive coolants, glycol-based fluids, or any liquids not specifically designed for PC liquid cooling․ These contain additives that can react negatively with the metals and plastics used in your loop, causing corrosion, blockages, and discoloration․
Using non-recommended coolants voids your warranty and risks irreversible damage․ Prioritize a quality coolant like Bitspower Pellucid to ensure long-term reliability and optimal performance․
Preventing Scale and Algae Build-up
To maintain optimal performance and longevity of your Bitspower liquid cooling loop, proactively preventing scale and algae buildup is crucial․ Regularly inspect your coolant for any signs of discoloration or sediment․ Utilizing a high-quality coolant, like Bitspower Pellucid, formulated with corrosion inhibitors is the first defense․
Consider adding a biocide specifically designed for PC liquid cooling to inhibit algae growth, especially in systems with clear tubing or reservoirs․ Ensure your loop is thoroughly flushed before filling with coolant, removing any manufacturing residue․
Minimize exposure to light, as it encourages algae growth․ Regularly monitor and maintain your system for peak cooling efficiency․

Post-Installation Checks & Maintenance
Bitspower fans require testing, speed/temperature monitoring, and regular cleaning to ensure continued optimal cooling performance and system reliability post-installation․
Testing Fan Operation
After installing your Bitspower fans, thorough testing is crucial to confirm proper functionality․ Begin by visually inspecting each fan to ensure it spins freely when the system is powered on․ Utilize your motherboard’s BIOS or dedicated fan control software to verify that each fan is recognized and responding to speed adjustments․
Monitor fan speeds under various load conditions – idle, gaming, and stress testing – to confirm they are operating within the expected range․ Listen for any unusual noises, such as grinding or rattling, which could indicate a problem with the fan motor or blades․ If a fan fails to spin or exhibits abnormal behavior, immediately power down the system and re-check the connections and mounting․
Consider using software to simulate heavy workloads and observe the fans’ ability to maintain stable temperatures․ This proactive approach helps identify potential issues early, ensuring long-term cooling performance and system stability․
Monitoring Fan Speed and Temperature
Consistent monitoring of fan speed and temperature is vital for maintaining optimal cooling performance after Bitspower fan installation․ Utilize motherboard software or third-party applications like HWMonitor to track fan RPM and component temperatures in real-time․ Establish baseline temperatures during idle operation and observe how they change under load, such as during gaming or rendering․
Pay close attention to CPU and GPU temperatures, ensuring they remain within safe operating limits specified by the manufacturer․ Adjust fan curves within your monitoring software to optimize the balance between cooling efficiency and noise levels․ Higher fan speeds provide better cooling but generate more noise, so finding the sweet spot is key․
Regularly review temperature logs to identify any anomalies or gradual increases, which could indicate dust buildup or a failing component․ Proactive monitoring allows for timely intervention, preventing potential overheating and system instability․
Regular Cleaning and Dust Removal
Maintaining a clean system is crucial for optimal Bitspower fan performance and longevity․ Dust accumulation restricts airflow, reducing cooling efficiency and potentially causing overheating․ Implement a regular cleaning schedule, ideally every three to six months, depending on your environment․
Power down your system completely and disconnect the power cable before commencing cleaning․ Use compressed air to gently remove dust from fan blades, heatsinks, and radiators․ Avoid using a vacuum cleaner, as it can generate static electricity․ For stubborn dust, a soft-bristled brush can be employed cautiously․
Inspect fan blades for any damage or debris․ Ensure all cables are securely connected after cleaning․ Regular maintenance extends the lifespan of your Bitspower fans and ensures consistent, reliable cooling performance․